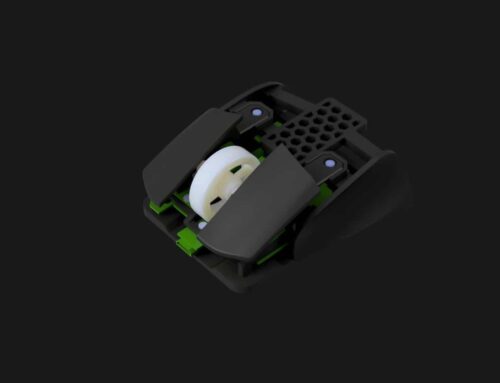
Required Components

As shown in the image from left to right:
① Assembled M3K PCB x1
② E3K Click x1
③ E3K Shell x1
④ E3K Bottom x1
⑤ M1.2 screws, 3mm length, 3.5mm head width x8
⑥ Hot glue gun x1
Other Information:
For the PCB assembly tutorial, please refer to this link.
https://docs.google.com/document/d/1SE01ucQt_vNXMVXuUZKHoimqZCcqS2WRSykgKq6dn-I/edit
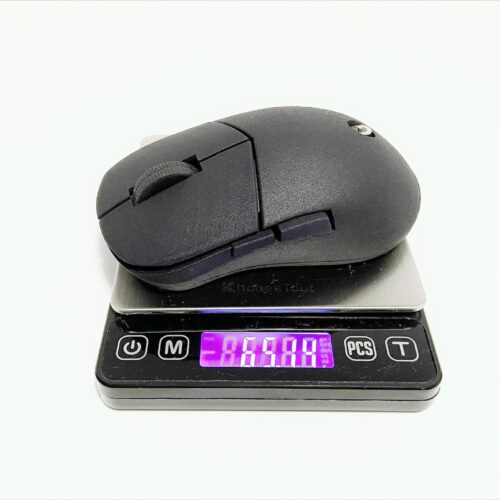
The original M3K screws weigh up to 1 gram, so I chose these very small screws. If you can’t find them, you can opt for screws within the following range: diameter 1-1.3mm, screw head width at least 3.1mm, and screw length no more than 3.5mm. Additionally, you can use a hot glue gun to secure all the screw points, which can also reduce the weight to a minimum.
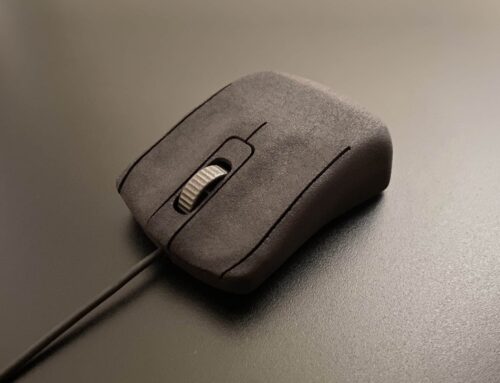
Assembly Procedure

1. First, insert the front end of the Up Cover into the constraint structure on the shell.

2. Secure the end of the Up Cover with at least two screws or use hot glue.

3. Align the PCB with the screw posts and press it into the bottom, then secure it with screws or hot glue.

4. Align the bottom with the shell and press the M3K cable into the outlet.

5. Align the slots on the head and press the three clips on the head into place.

6. Press the clips in the middle and at the tail, being careful not to press the tail clips too hard. While pressing, push the tail towards the head to apply force in both directions simultaneously. This operation can prevent damage to the bottom.
Additional information

If you need to disassemble it, insert your index finger into the right or left rear of the tail, then hook the tail of the PCB and pull it outwards. This will release the tail clips, after which you can separate the clips in the middle and at the head.

If you want to improve the feel and sound of clicking and scrolling, you can stick a 0.1mm layer of Eva foam (I used Poron foam) on the button post and button constraint area (red). Then apply a small amount of lubricant to the wheel constraint and button constraint area (green).

If you experience bottom wobbling when using a hard mouse pad, it may be due to a slight powder buildup on the edges during printing, which affects the assembly precision. You can try scraping the edge of the bottom shell with a blade to make it smoother (as shown in the picture where the blade tip is located).
Leave your comment
Related posts