Made by PoPoPyo
Thank you for your purchase. Please use this as a reference when assembling or considering your purchase.
Required Parts

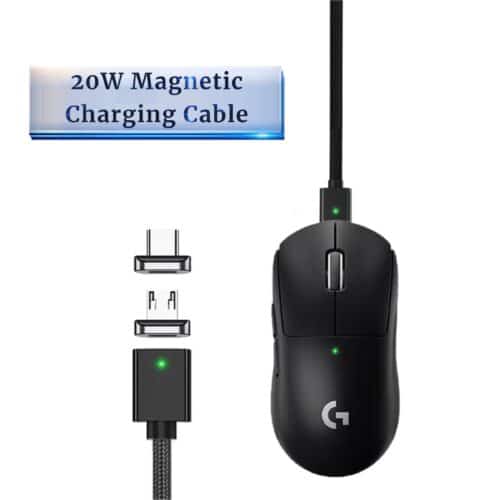
VGN Dragon Fly F1 Series
- Main PCB
- Wheel (It is advisable to apply grease to the axle.)
- Battery (Can be secured to either the PCB or the shell, as preferred.)
- Power Button
- Bottom Screws × 4
- PCB Mounting Screws × 3

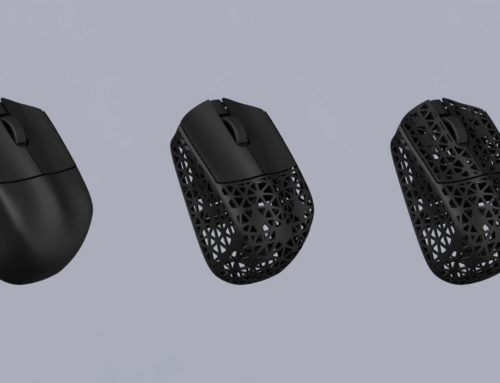
BOX wl
- Main shell
- Bottom shell
Assembly Instructions
1. Insert the power button into the bottom shell.

2. Secure the main PCB to the bottom shell using the PCB mounting screws.

3. Assemble the top shell and bottom shell.

4. Secure the bottom with four bottom screws in the screw holes.

5. Completion

Due to slight distortions from printing, you may encounter issues such as “friction during clicks,” “inconsistent click feel,” or “step discrepancies at shell joints.” To address these, you may need to:
- Adjust with tape
- Use a rotary tool or sandpaper for smoothing
- Apply grease
- Attach grip tape
Creator:ぽぽぽーよ
Twitter: https://twitter.com/Po_Po_Pyo_
Leave your comment
Related posts