Necessary items

- POM-1 Shell
- POM-1 PCB-Holder
- M2K Mod Kit
- Torx T4 Screwdriver
- Torx T6 Screwdriver (T5 is fine)
- Mouse feet smaller than 7.5mm dia.
Attention
When you received the printed material, we recommend rinsing it with water to remove any nylon powder that may be adhered to the surface. You can use your hands or a toothbrush for this task, but using an ultrasonic cleaning machine will yield more effective results.
Assembly Instructions

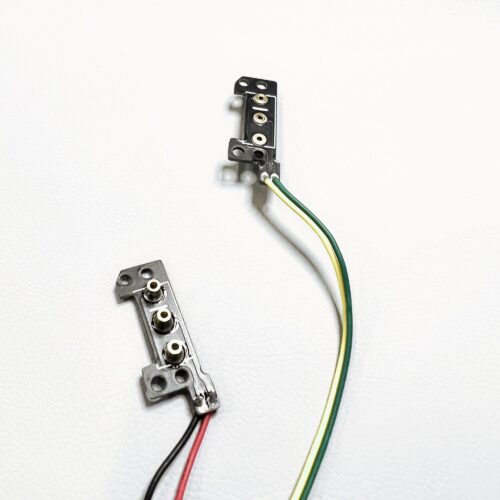
1. Cable Assembly
When viewing the connector in the orientation shown in the photograph, insert the contacts in the following order from left to right: red, white, yellow, and black.

2. Cable Insertion
Plug the cable into the main PCB.

3. Assemble of wheel PCB
Attach the wheel to the sub PCB (smaller one). If necessary, apply some silicone grease or similar lubricant to the axle portion of the wheel at this stage.

4. Assembly of PCB
Assemble the main PCB and the sub PCB. During assembly, make sure to route the cable through the gap between the encoder and the micro switch.

5. Sensor Lens Mounting
Insert the protrusion of the sensor lens into the hole on the PCB and attach the lens to the sensor on the main PCB. If the PCB is new, there are two pieces of yellow tape on the sensor that need to be peeled off.


6. Assemble to PCB Holder
Secure the PCB to the PCB holder using the smallest Torx T4 screws at the locations marked with a red indicator in the image.


7. Fixing to the shell – part 1
Please use three mushroom-like screws from the Torx T6(T5) set and position them at the yellow marked locations in the provided image to secure the PCB holder to the shell. Simultaneously, guide the cable along the groove on the front of the mouse, pushing it up until it reaches the top.
During this process, it’s important not to fully tighten the screws from the beginning. Instead, loosely tighten the three screws to allow for some flexibility, and proceed to the next assembly step while maintaining this state.


8. Fixing to the shell – part 2
Using the cylindrical-shaped screws from the Torx T6(T5) screws, secure the PCB holder to the shell at the locations marked with green indicators in the image.
Similarly to the previous three screws, loosely tighten them at this point, and then fully tighten all five screws, including the ones used in the previous assembly step.
Adjust the cable at this stage to ensure it doesn’t interfere with the wheel.
Also, when tightening the screws completely against the shell, be cautious not to overtighten them as it may render the screws non-functional.

9. Installation of Mouse Feet
There are spaces in the four corners to accommodate circular feet with a diameter of 7.5mm or less, allowing you to attach the desired feet there.

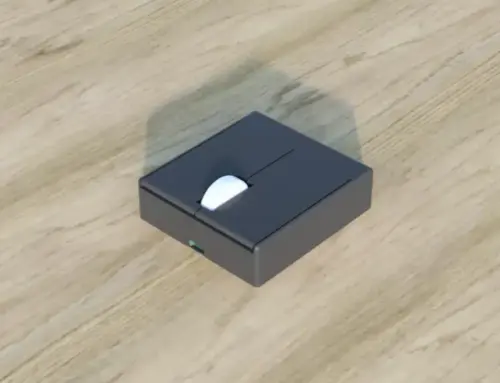
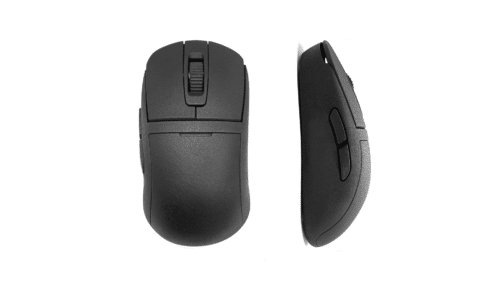
10. Completion
For various settings, please refer to the page published by Zaunkoenig.
To adjust the click feeling, you can try adjusting the tightness of each screw or applying tape to the click area of the shell for better results.
Creator:ぽぽぽーよ
Twitter: https://twitter.com/Po_Po_Pyo_
Leave your comment
Related posts